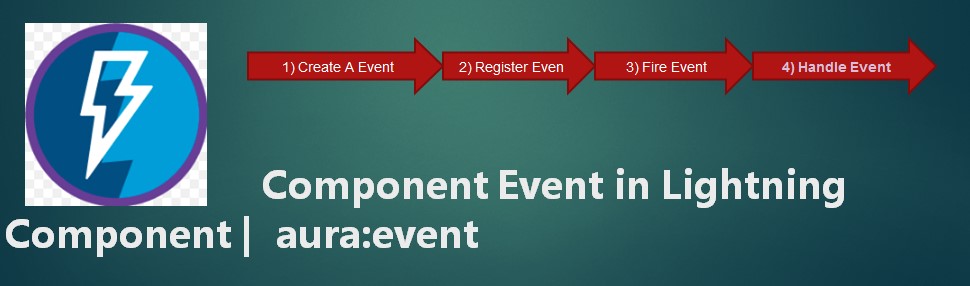
Introduction:
In this blog post, we will walk through the process of creating an Aura component in Salesforce for handling events. Events are a powerful mechanism for communication between components in the Salesforce Lightning Framework. By building a custom Aura component, you can leverage events to enhance interactivity and data flow within your Lightning applications. So let’s dive in and build our event Aura component!
Prerequisites:
- Salesforce Developer Edition or any Salesforce environment
- Basic knowledge of Salesforce Lightning components and Aura framework
Step 1: Setting Up the Development Environment To get started, open your Salesforce Developer Edition environment and follow these steps:
- Navigate to the Salesforce Setup by clicking on the gear icon in the top-right corner.
- In the Quick Find search box, type “Developer Console” and click on the Developer Console link.
- The Developer Console opens in a new window. Go to File > New > Lightning Component.
- In the Create a Lightning Component dialog, provide a name for your component (e.g., EventComponent) and select “Aura” as the component type.
- Click on the Submit button to create the Aura component file.
Step 2: Defining the Event In the Developer Console, open the newly created Aura component file (e.g., EventComponent.cmp) and replace the existing code with the following:
<aura:component>
    <aura:registerEvent name="myEvent" type="c:MyEvent" />

    <aura:handler name="init" value="{!this}" action="{!c.doInit}" />

    <div>
        <lightning:button label="Fire Event" onclick="{!c.fireEvent}" />
    </div>
</aura:component>
In this code, we define an event called “myEvent” using the <aura:registerEvent> tag. The event type “c:MyEvent” refers to a custom event defined in the controller (which we’ll create next). We also add a button that triggers the event when clicked.
Step 3: Implementing the Event Controller In the Developer Console, open the Aura component’s controller file (e.g., EventComponentController.js) and replace the existing code with the following:
({
    doInit: function(component, event, helper) {
        // Perform any initialization logic here
    },

    fireEvent: function(component, event, helper) {
        var myEvent = component.getEvent("myEvent");
        myEvent.fire();
    }
})
In this code, we define two controller functions: doInit and fireEvent. The doInit function is optional and can be used for any initialization logic. The fireEvent function retrieves the “myEvent” event using component.getEvent() and fires it using the fire() method.
Step 4: Handling the Event in Another Component Now, let’s create another Aura component that handles the event fired by our EventComponent.
- In the Developer Console, create a new Lightning Component file (e.g., EventHandlerComponent.cmp) and replace the existing code with the following:
<aura:component>
    <aura:handler name="myEvent" event="c:MyEvent" action="{!c.handleEvent}" />

    <div>
        <p>Event received!</p>
    </div>
</aura:component>
In this code, we use the <aura:handler> tag to listen for the “myEvent” event and specify the action to be performed when the event is received.
Summary:
This blog post provides a step-by-step guide for creating an Aura component in Salesforce to handle events. Events are a powerful mechanism for communication between components in the Salesforce Lightning Framework. The tutorial covers setting up the development environment, defining the event in the Aura component, implementing the event controller, and handling the event in another component. By following this guide, developers can leverage events to enhance interactivity and data flow within their Salesforce Lightning applications.
Hits: 0