Introduction:
Tables are a fundamental component of web design, used to organize and present data in a structured format. In this blog post, we will explore how to set data in a table using HTML and Salesforce Lightning Design System (SLDS). We will provide a step-by-step guide along with a code example to help you understand the process.

Code:
<table class="slds-table slds-table_cell-buffer slds-table_bordered slds-table_col-bordered" aria-label="Example table of Opportunities with vertical borders">
  <thead>
    <tr class="slds-line-height_reset">
      <th class="" scope="col">
        <div class="slds-truncate" title="Task Name">Task Name</div>
      </th>
      <th class="" scope="col">
        <div class="slds-truncate" title="Assigned by">Assigned by</div>
      </th>
      <th class="" scope="col">
        <div class="slds-truncate" title="Status">Status</div>
      </th>
      <th class="" scope="col">
        <div class="slds-truncate" title="Start Date">Start Date</div>
      </th>
      <th class="" scope="col">
        <div class="slds-truncate" title="End Date">End Date</div>
      </th>
      <th class="" scope="col">
        <div class="slds-truncate" title="Action">Action</div>
      </th>
    </tr>
  </thead>
  <tbody>
    <aura:iteration items="{!v.Tasklist}" var="tsk">
      <tr>
        <td>{!tsk.Name}</td>
        <td>{!tsk.Task_Assigned_By__r.Name}</td>
        <td>{!tsk.Status__c}</td>
        <td>{!tsk.Start_Date__c}</td>
        <td>{!tsk.End_Date__c}</td>
        <td>
           <!-- <button   disabled="{!tsk.hidebutton}" data-record="{!tsk.Id}" variant="brand" type="button" label="Completed" onclick="{!c.updateStatus}">Completed</button>-->
        </td>
      </tr>
    </aura:iteration>
  </tbody>
</table>
Explanation:
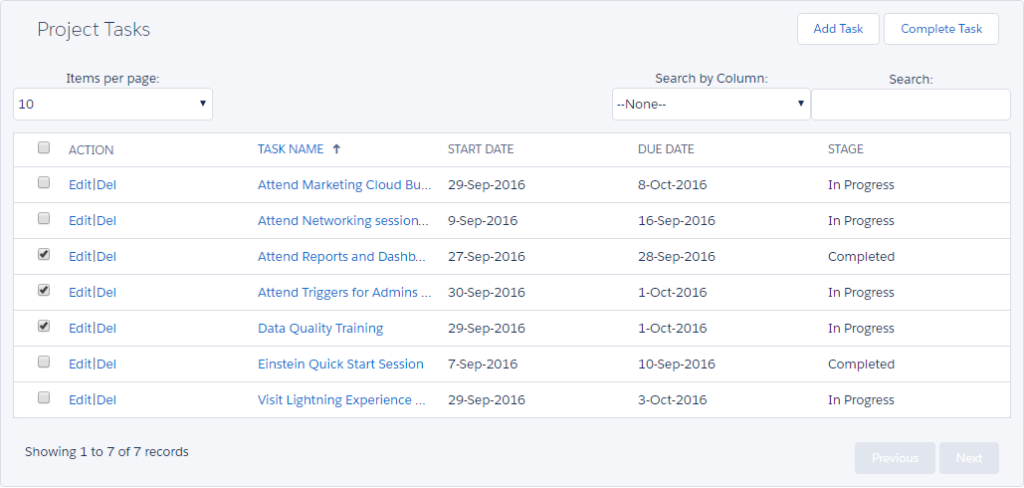
The code provided above demonstrates how to create a table with six columns: Task Name, Assigned by, Status, Start Date, End Date, and Action. We use SLDS classes like slds-table, slds-table_cell-buffer, slds-table_bordered, and slds-table_col-bordered to style the table and provide visual formatting.
Inside the <thead> section, we define the table headers for each column using the <th> element. The <div> within each header applies the SLDS class slds-truncate to ensure that the text is truncated and visually appealing.
In the <tbody> section, we utilize the aura:iteration tag to iterate
Summary:
This blog post will demonstrate how to create a data table using the SLDS framework and populate it with dynamic data. We will walk through the code snippet that sets up the table structure and showcases a sample dataset. By the end of this tutorial, you will have a clear understanding of how to create and populate a table in your web applications.
Hits: 0